Access your Back Office at your fingertips.
Download the app now on Google Play Store.
Scan the QR code
You can also scan QR code with your phone to download the app.
How to add Custom Loan Forms to a loan product
Updated
On this page
Introduction
When a lender signs up to Lendsqr they are allowed to create loan products. These loan products require the customers to fill a form in order to request a loan. This custom form allows our lenders to ask its borrowers specific, unique and custom questions.
To learn more about how custom forms work, check out our help content on how custom forms work.
Steps on how to add Custom Loan Form to a loan product
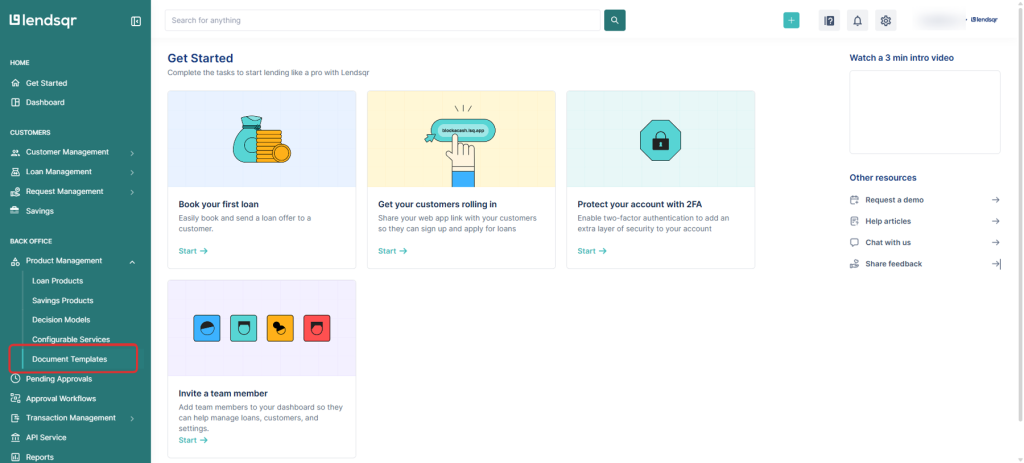
Navigate to the “Product Management” module in the menu under “BACK OFFICE”.
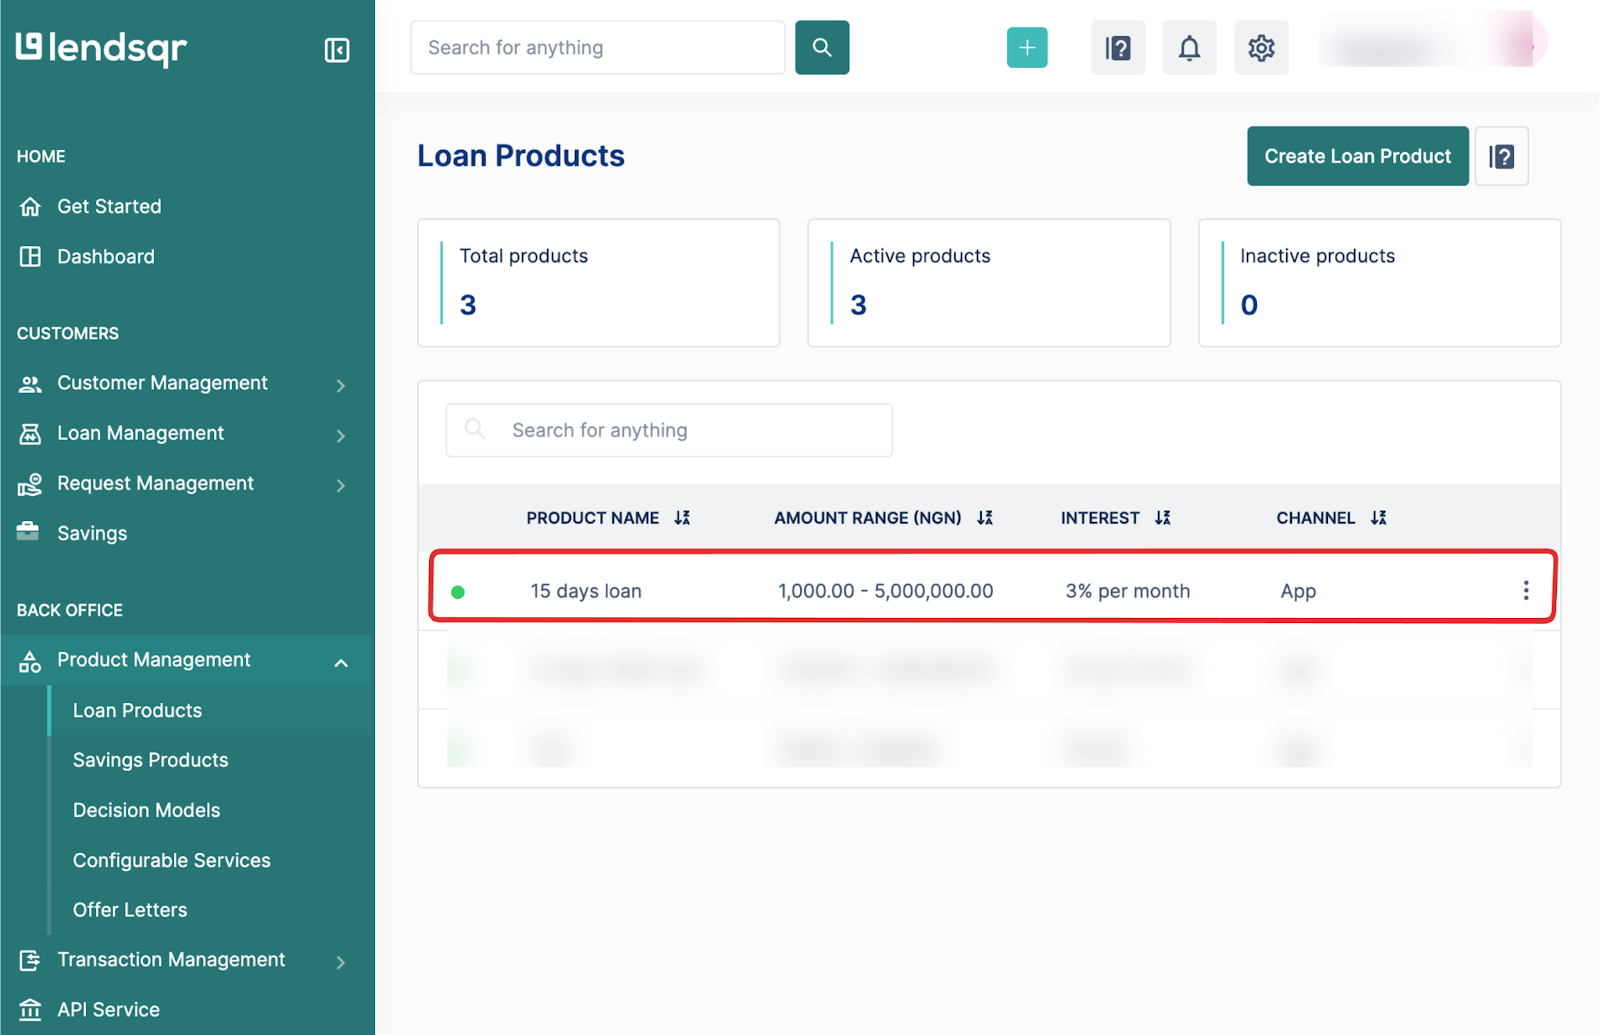
Click on “Loan Products”.
On the Loan Products page, you’ll see a list of your existing loan products. Click on the loan product you wish to add the Custom Loan form.
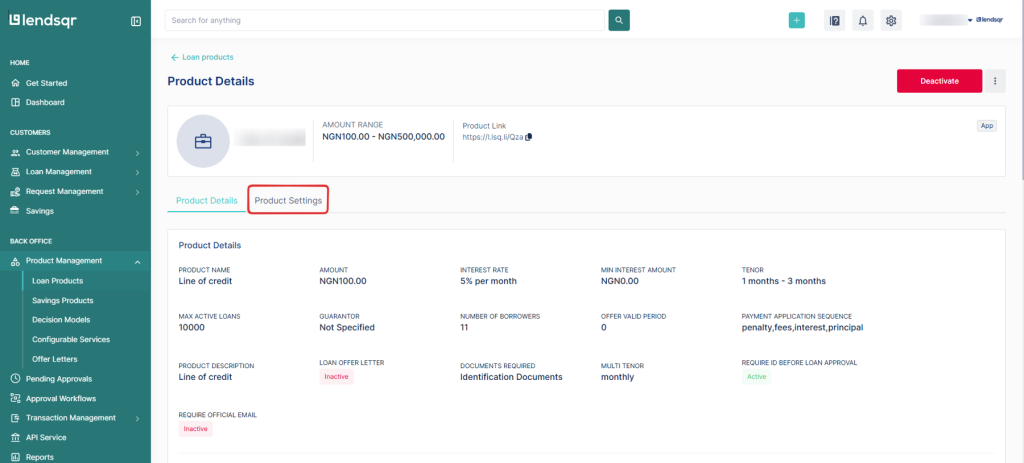
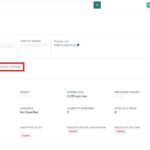
On the Product Details page, click on the “Product Settings” tab. This tab is located next to “Product Details”.
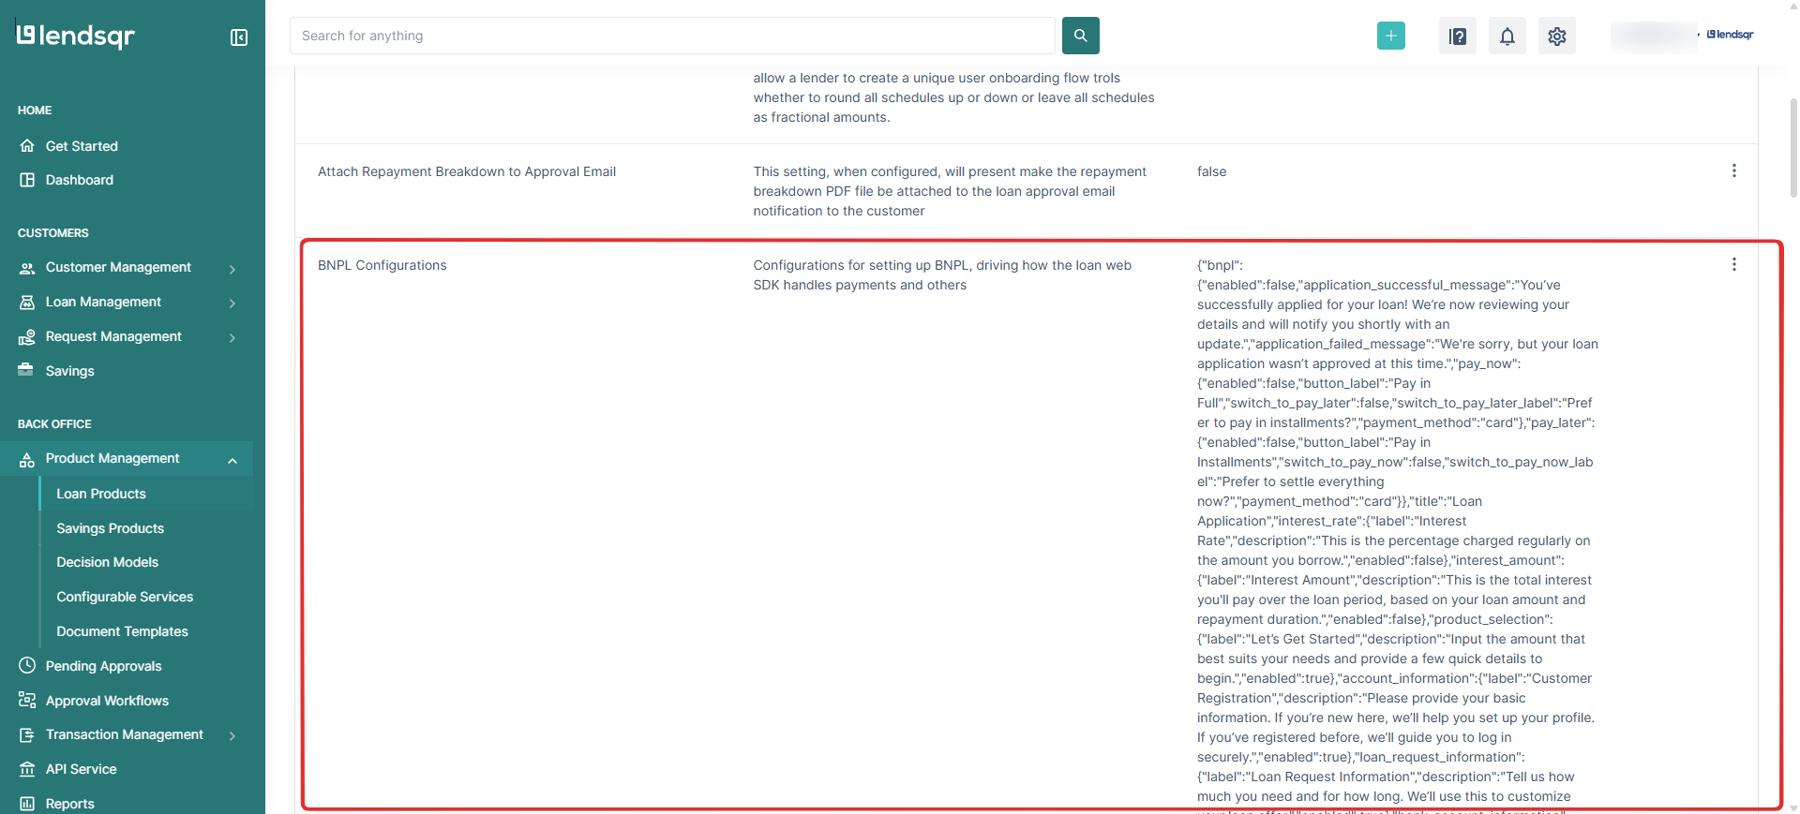
Once you click “Product Attributes”, scroll down and locate the “Custom Form Builder” section.Click the three-dot menu, there’s an “Edit” and “View”button. Click the “Edit” button to add Custom Loan form.
Once you click “Product Settings”, scroll down and locate the “Custom Form Builder” Click on it to add Custom Loan form.
Build your Custom Form
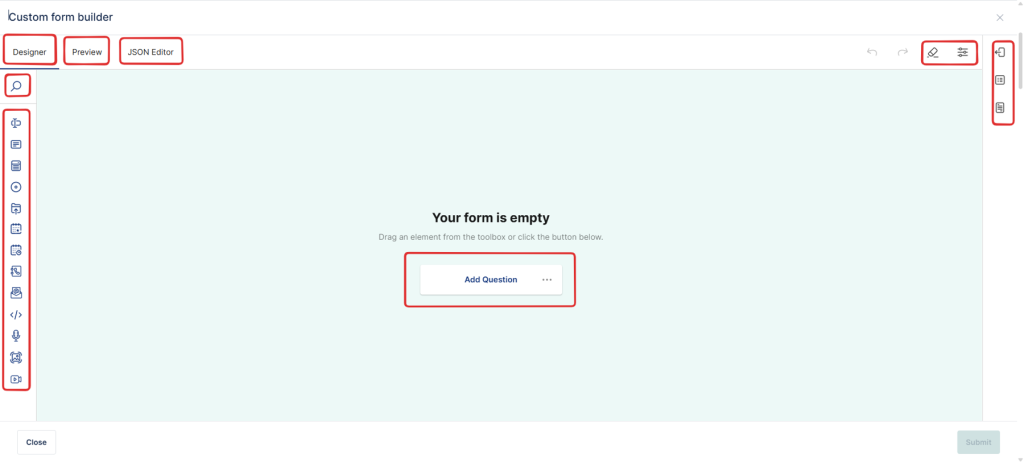
The Custom Form Builder interface will open. You’ll see three modes at the top:
Designer – drag and drop questions into your form.
Preview – check how the form looks for borrowers.
JSON Editor – advanced mode to fine-tune form logic. To learn more about to use this, click here.
In Designer mode, drag fields from the left-hand toolbox into your form. Available elements include:
Text input
Dropdowns
Dates
File uploads
Radio buttons and checkboxes
And more
Use the settings icons (top right) to configure styling, rules, or logic.
Click on the “Submit” button to save the form.
Best Practices
Keep your form concise to improve completion rates.
Use required fields only for essential information.
Test the form in Preview mode before saving.
If you need advanced validation or conditional logic, use the JSON Editor.