Access your Back Office at your fingertips.
Download the app now on Google Play Store.
Scan the QR code
You can also scan QR code with your phone to download the app.
How to manage your organization profile
Updated
On this page
Introduction
As a lender, you can configure a wide range of settings on the Lendsqr admin console. Keeping your organization profile information accurate ensures that borrowers see correct contact details, your brand appears consistently, and your business documentation is always up to date.
For example, if your support email or phone number is outdated, a borrower struggling with a loan repayment may reach the wrong contact, leading to frustration and delayed resolution. Similarly, an incorrect settlement account could delay funds from reaching your business, disrupting cash flow and trust.
This guide walks you through updating your organization’s profile, managing settlement account details, and uploading required company documents.
Why maintaining your profile matters
Field
Why it matters
Company name and logo
Builds borrower trust and reinforces brand consistency across the web app, emails, and loan offers.
Support email & phone
Ensures borrowers can reach the right team quickly, reducing complaint escalations and improving satisfaction.
Address and RC number
Used for regulatory reporting and lender KYC; incorrect details can delay audits or compliance reviews.
Settlement account
The bank account where your loan repayments are deposited. Errors here mean funds go to the wrong place.
Company documents
Required for regulatory compliance; missing or outdated documents can lead to account restrictions.
Keeping this information up to date helps you avoid operational delays, maintain regulatory standing, and present a professional image to borrowers.
Step-by-step guide Follow these steps to manage your organization profile:
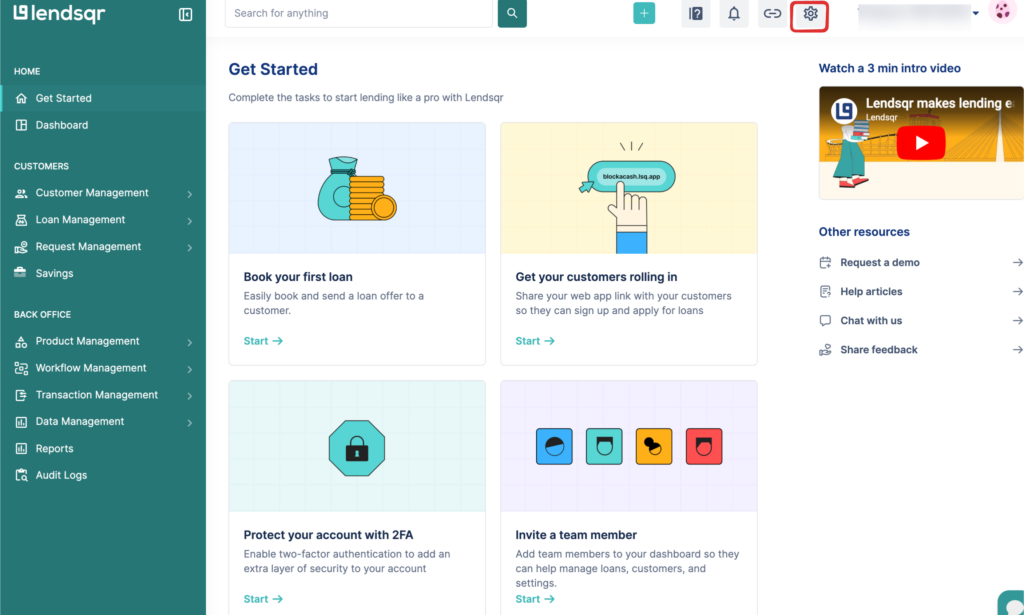
Navigate to settings From any page on the Lendsqr admin console, click the settings icon (gear icon) at the top‑right corner of the screen.
2. Open account settings
From the dropdown, select Account Settings. This takes you to the Preferences page, where you’ll see several configuration options.
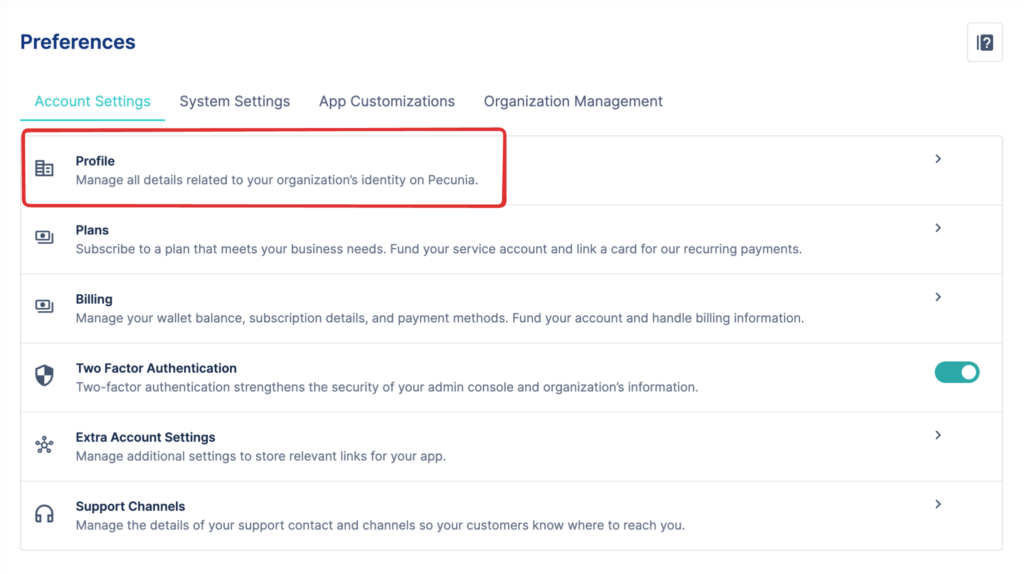
3. Click on profile
Under Account Settings, click Profile. This opens your organization’s profile management page.
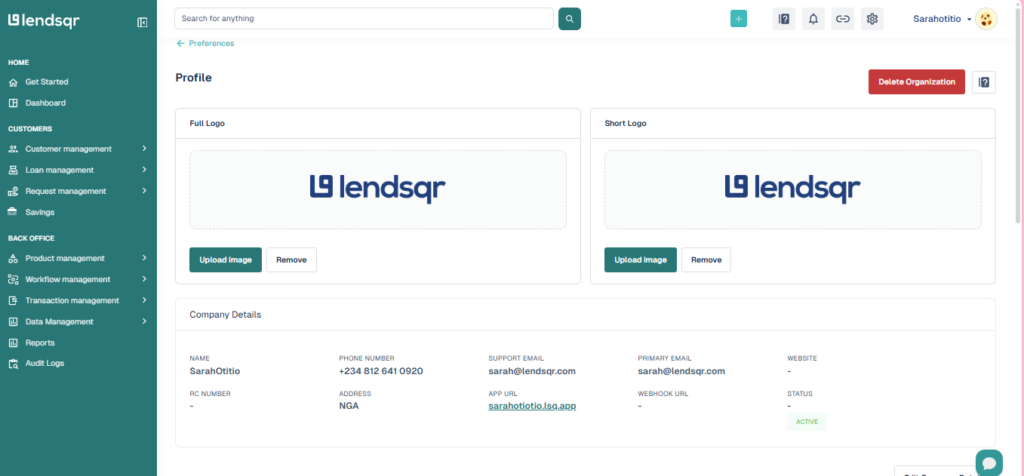
4. Edit your company details
On the Profile page, you can:
Upload or remove your Full Logo and Short Logo.
Update your organization’s name, phone number, support email, primary email, website, RC number, and address.
View your App URL and Webhook URL.
Check your Status (Active, Inactive, etc.).
Make the changes and click Save.
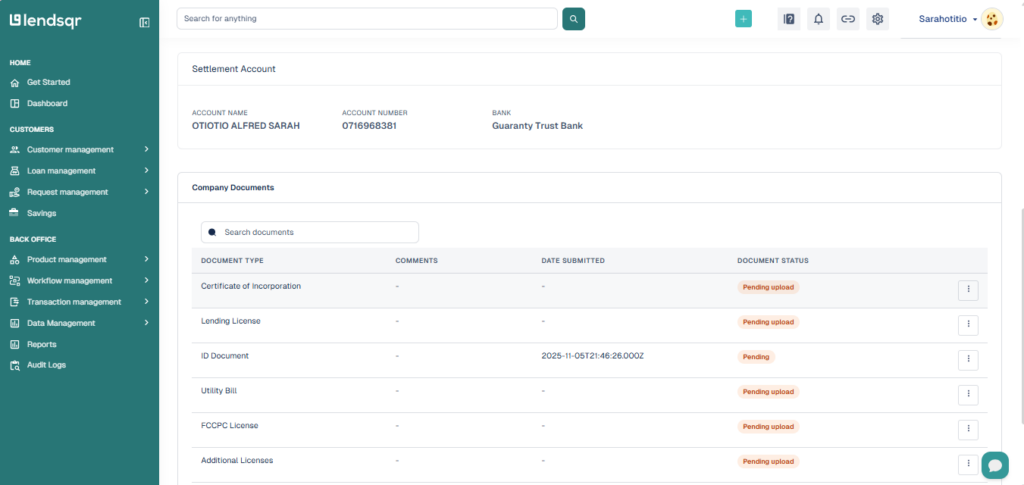
5. Review your settlement account
Below the company details, you’ll find the Settlement Account section. This displays the bank account where your lender settlement funds are sent. You can view the account name, number, and bank, but this information is read‑only and managed by the Lendsqr support team.
6. Manage company documents
Further down, you’ll see the Company’s Documents table. This section lists the documents required for your organization’s KYC and compliance. Each document shows its status (Pending Upload, Pending, or Verified). To upload a missing document, click the status and follow the prompts.
The following documents may be required, depending on your entity type and jurisdiction:
Document type
Purpose
Accepted formats
Max file size
Certificate of Incorporation
Proof of legal entity
PDF, JPG, PNG
10 MB
Lending License
Regulatory approval to lend
PDF, JPG, PNG
10 MB
ID Document (Director)
KYC for beneficial owners
PDF, JPG, PNG
10 MB
Utility Bill
Proof of business address
PDF, JPG, PNG
10 MB
FCCPC License
Consumer protection compliance (Nigeria)
PDF, JPG, PNG
10 MB
Additional Licenses
Any other industry‑specific permits
PDF, JPG, PNG
10 MB
Mermat
Memorandum & Articles of Association
PDF, JPG, PNG
10 MB
Board Resolution
Internal approval for key decisions
PDF, JPG, PNG
10 MB
Ultimate Beneficiary
Identity documents for ultimate beneficial owners
PDF, JPG, PNG
10 MB
Verification timeline: After you upload a document, it moves to Pending status. Lendsqr reviews documents within 2–3 business days. If approved, the status changes to Verified. If rejected, you’ll receive an email with the reason and can upload a corrected version.
To upload a document:
Click Pending Upload or Pending.
In the pop‑up, select the file from your computer.
Wait for the upload to complete, then close the pop‑up.
If you’re unsure which document to upload or need guidance, contact support at support@lendsqr.com.
What’s next?
Once your organization profile is up to date, you may also want to read:


 feature")