Access your Back Office at your fingertips.
Download the app now on Google Play Store.
Scan the QR code
You can also scan QR code with your phone to download the app.
How to activate or deactivate a customer
The ability to activate and deactivate customers is a key function that allows lenders to manage user access and engagement effectively. This feature is crucial for maintaining control over who can interact with the system, especially in cases of fraud, inactivity, policy violations, or at the customer’s request. It enables lenders to enforce rules, safeguard the platform, and prevent unauthorized activity, all while keeping the customer’s data intact for potential future reactivation or auditing purposes.
For instance, if a customer repeatedly defaults on payments or engages in suspicious behavior, an admin may choose to deactivate the account to prevent further risk to the organization. On the other hand, if the issue is later resolved, such as settling debts or providing missing documentation, the same customer can be reactivated without needing to start a new registration process. This flexibility ensures operational efficiency, helps maintain platform integrity, and allows for a better-managed customer lifecycle.
In order to activate or document a user, follow the steps below;
Filter the Customer by following the steps listed here
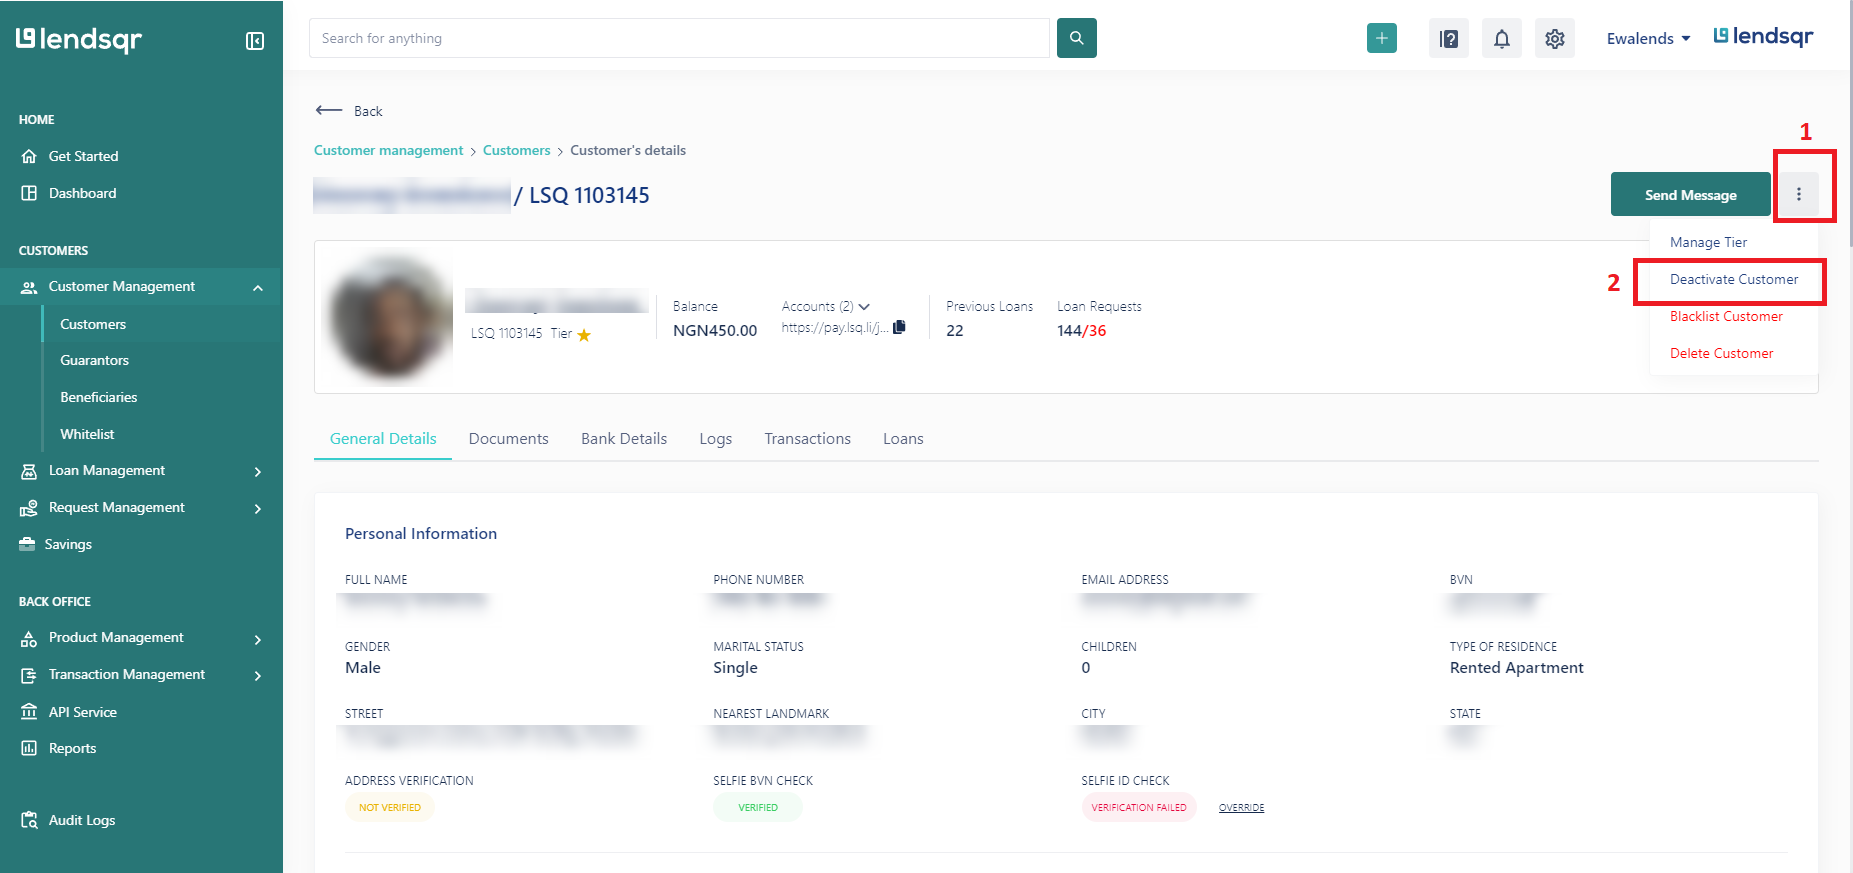
Click the three dots on the top right corner of their profile
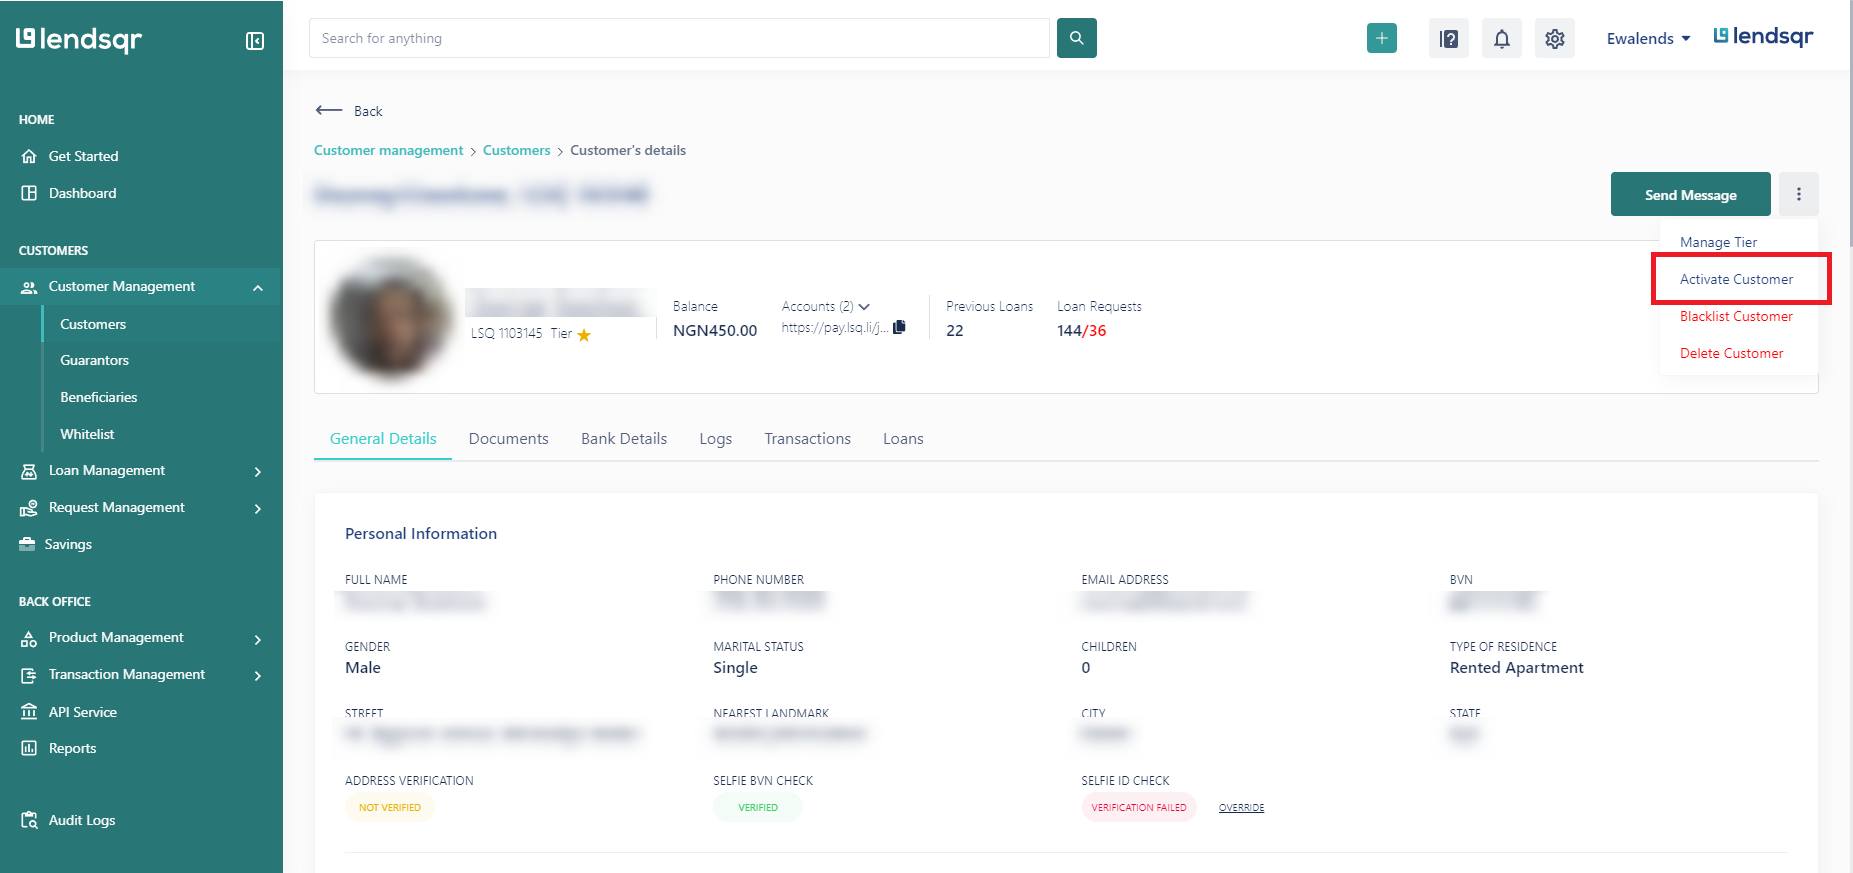
Click on ‘Activate Customer’ or ‘Deactivate Customer’
If a user is active, you’d see ‘Deactivate Customer’ on users’ profile details page.
While if the user is inactive, you would see ‘Activate Customer’ on the user’s profile details page.


 feature")
