Access your Back Office at your fingertips.
Download the app now on Google Play Store.
Scan the QR code
You can also scan QR code with your phone to download the app.
The Loan application process
This article outlines the user journey flow for obtaining a loan when key product attributes have been set up on a loan product.
Note: This process applies specifically to standard loan products and does not cover line-of-credit loan types.
Preconditions
The user visits the web application, logs in, and is redirected to the Dashboard.
On the dashboard, the user sees a list of available loan products displayed as product cards.
Each card provides basic loan information such as:
Product name
Short description
Maximum loan amount
Interest rate
Tenor (loan duration)
The user clicks on “View Offer Details” for the loan product that best suits their needs.
The system opens a modal displaying the loan application form.
How it works
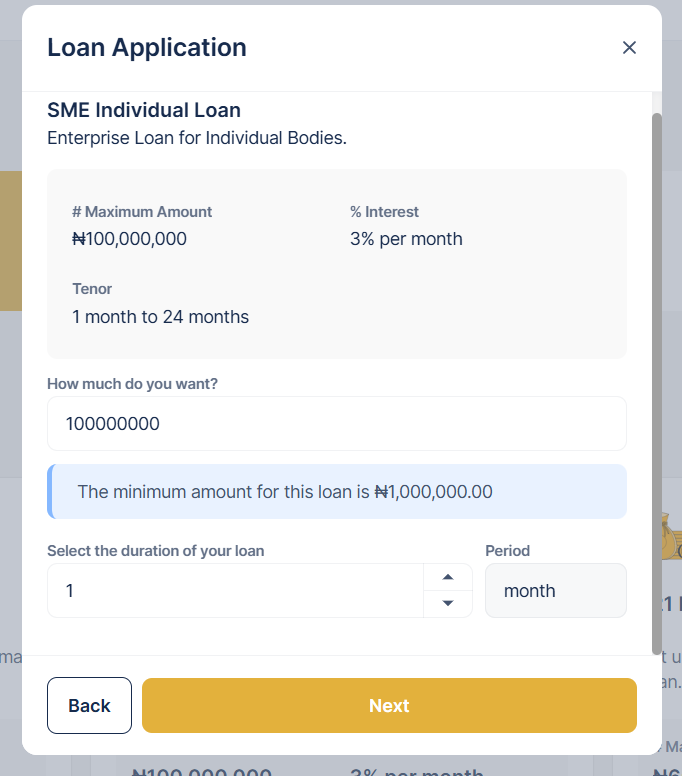
Basic Loan Information
At this stage, the user begins the loan application by providing key input details. The system first displays the basic loan information such as the product name, description, maximum loan amount, interest rate, and tenor. The user is then prompted to specify how much they want to borrow by entering an amount in the provided numeric field. Next, they select the desired loan duration by choosing both the number (for example, 3, 6, or 12) and the corresponding period (such as months or years). Once all required inputs are filled in, the user clicks Next to continue to the next stage of the application.
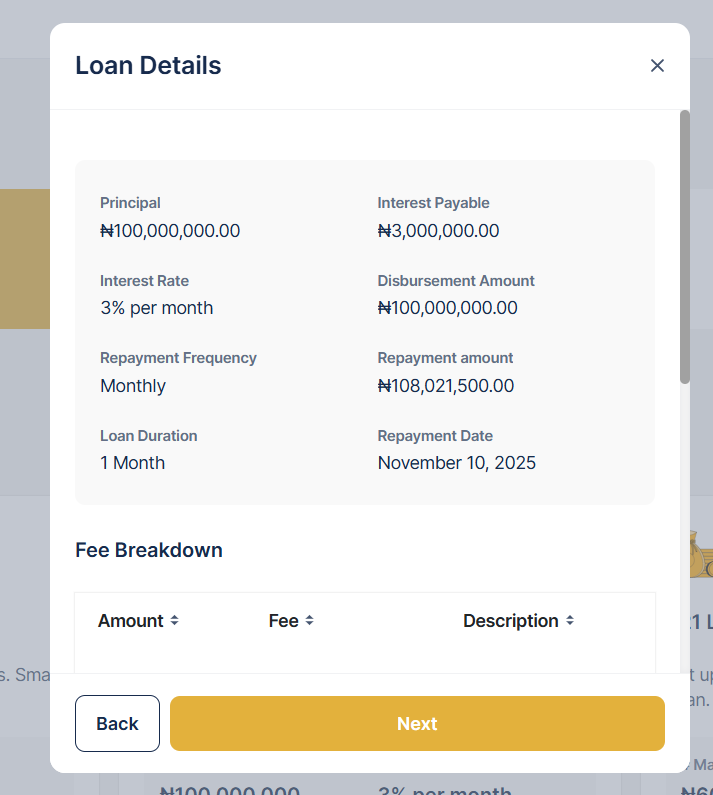
Loan Details Summary
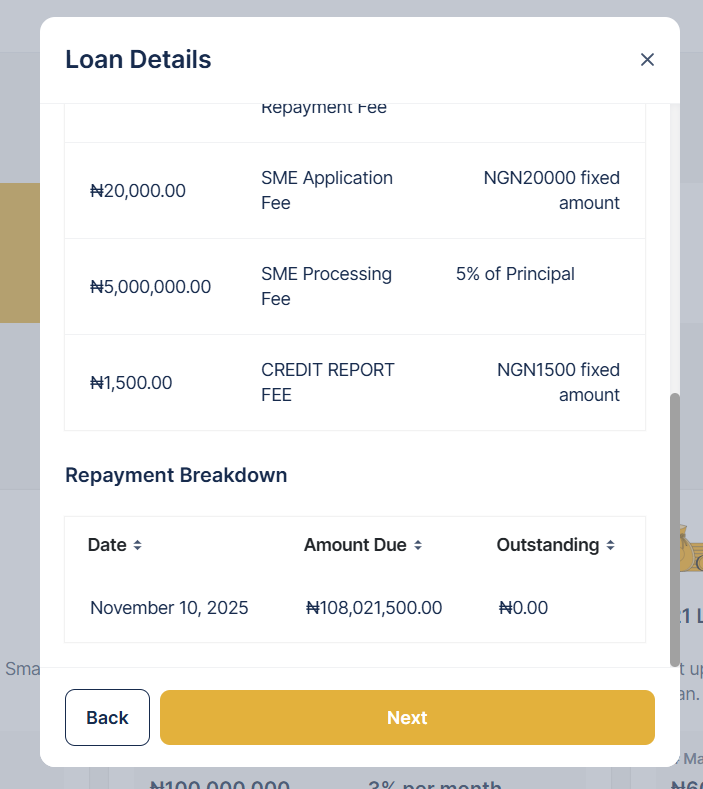
After the user enters their desired loan amount and duration, the system automatically generates a detailed breakdown of the loan parameters. This includes the principal amount, total interest payable, interest rate, disbursement amount, repayment frequency, repayment amount, overall loan duration, and the date of the first repayment. In addition, the page presents a Fee Breakdown showing applicable charges such as processing fees, insurance premiums, and taxes, along with a Repayment Breakdown that outlines the repayment schedule, including installment amounts and due dates. The user is expected to carefully review this summary to ensure all information aligns with their expectations before proceeding.
Note: If Grace period, Equity contribution are configured, tooltip cards are shown to reflect this.
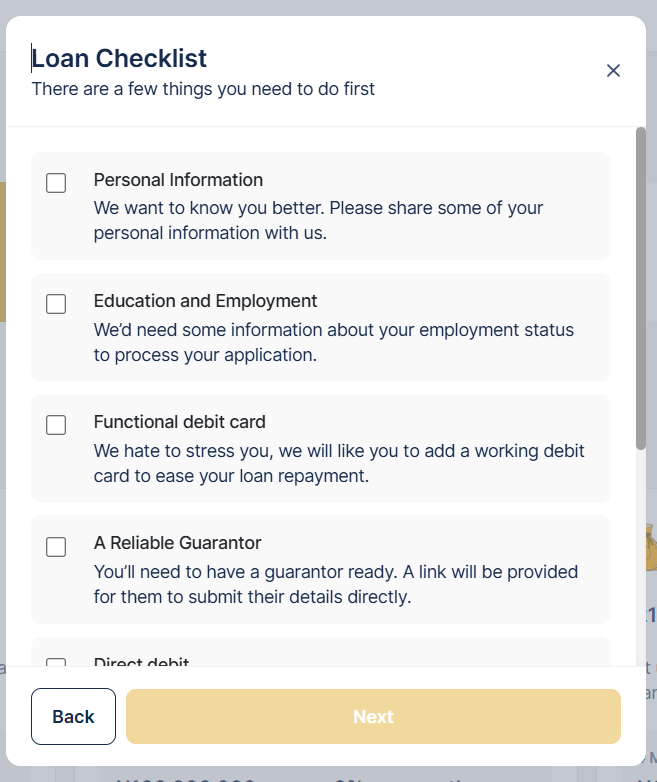
Loan Checklist
If configured for the product, a loan checklist is displayed at this point. The checklist outlines mandatory requirements or conditions that must be met before the user can proceed, such as uploading identification documents or confirming eligibility criteria.
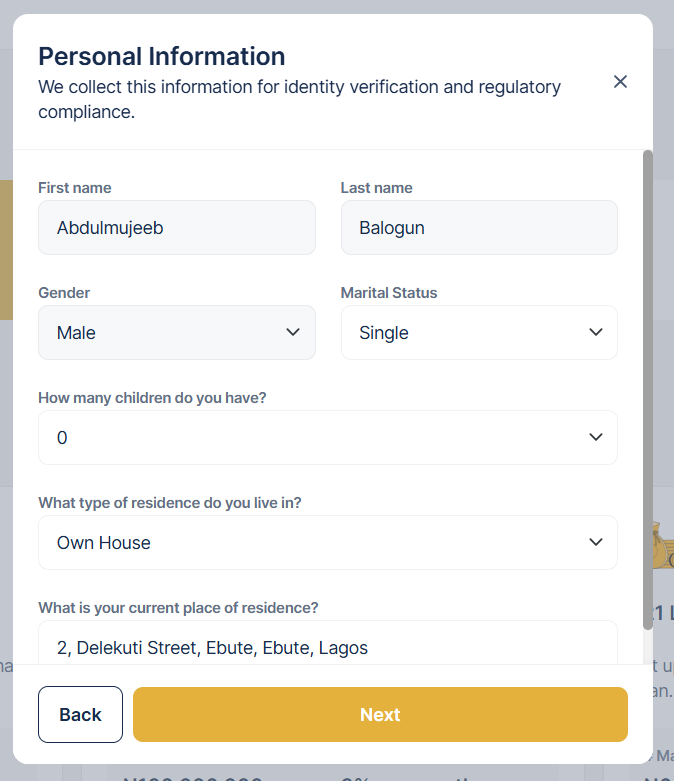
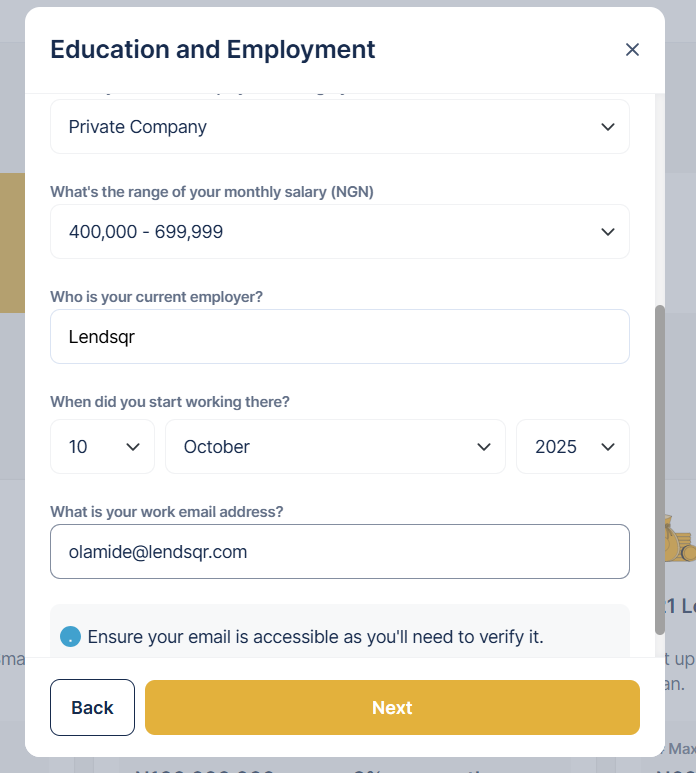
Application Form
If the product configuration has show_only_clf set to false, the user is required to fill in a detailed loan application form. This form collects personal and employment-related information necessary for assessing creditworthiness. The Personal Information section captures details such as the applicant’s full name, date of birth, contact information, and residential address. The Education & Employment section gathers data on the applicant’s education level, employment status, employer name, and income details. These details help provide context for evaluating the applicant’s financial stability and repayment capacity.
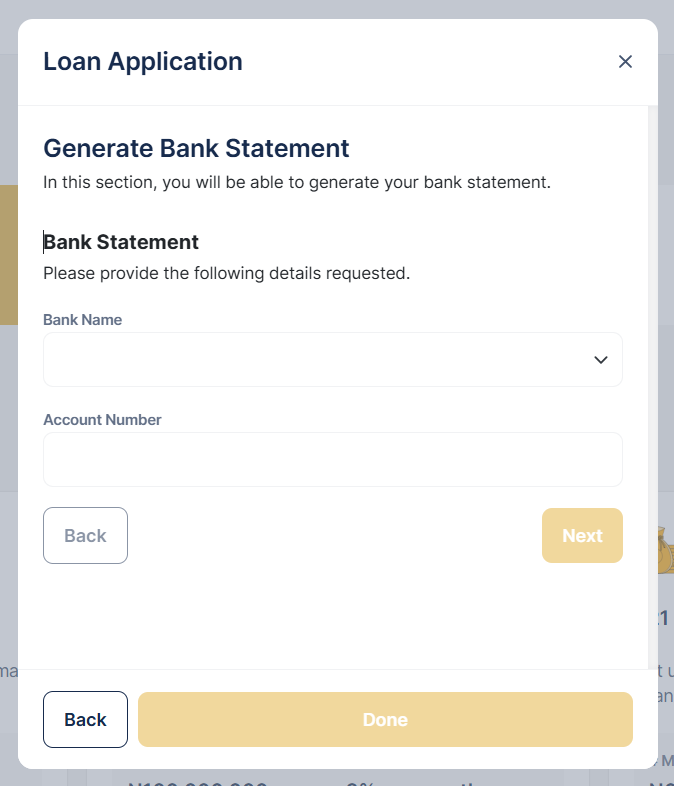
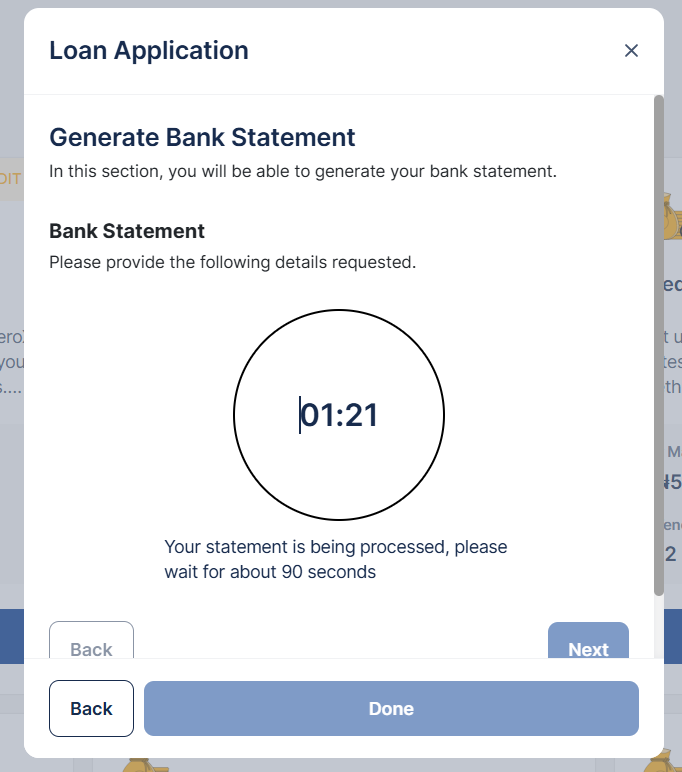
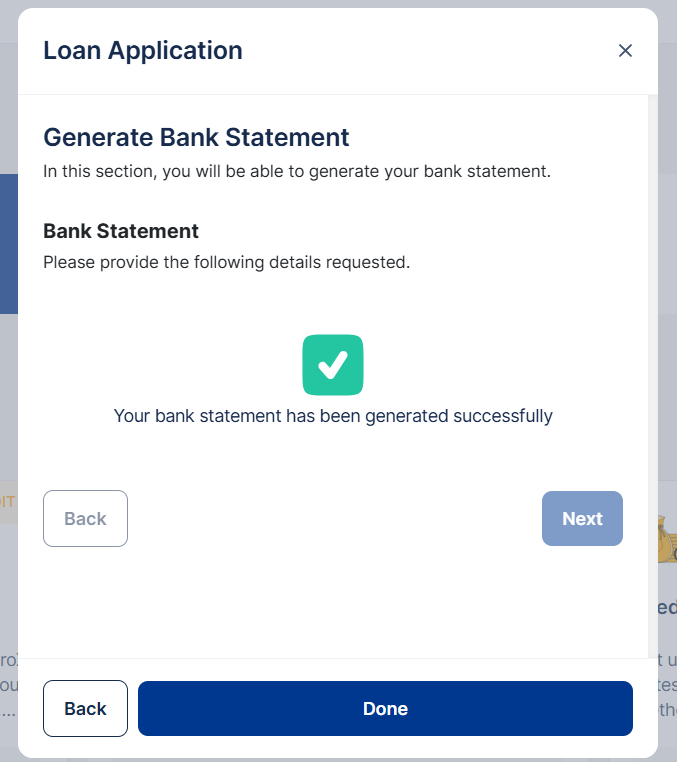
Custom Form Questions
Some products may have custom questions that are specific to their unique requirements. These are additional fields configured for that particular loan product. At this point, integrations such as MyBankStatement may be triggered to fetch and verify the applicant’s financial data directly from their bank, ensuring accuracy and reducing the need for manual uploads.
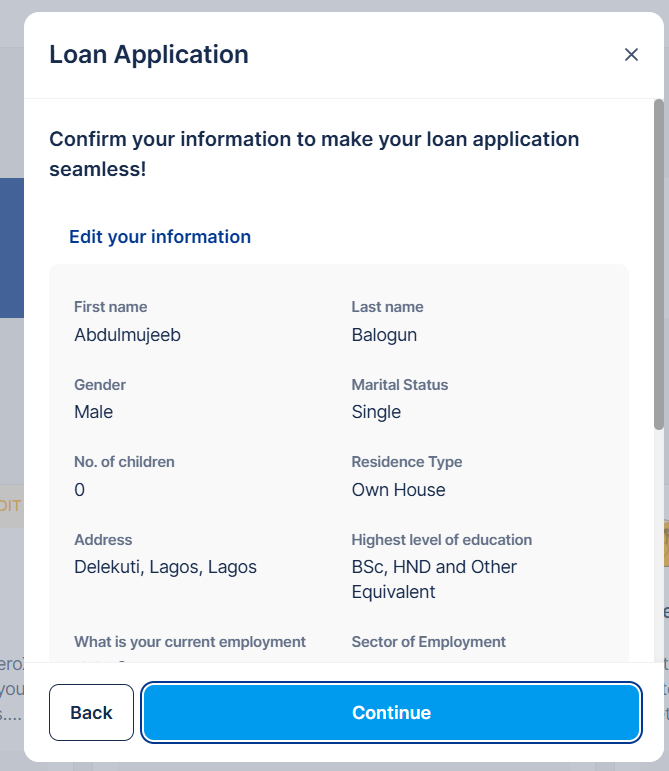
Loan Application Review
Once all form details have been entered, the system compiles a summary of the information provided. The user is shown a review page where they can go through all submitted details, verify their accuracy, and make edits where necessary before final submission.
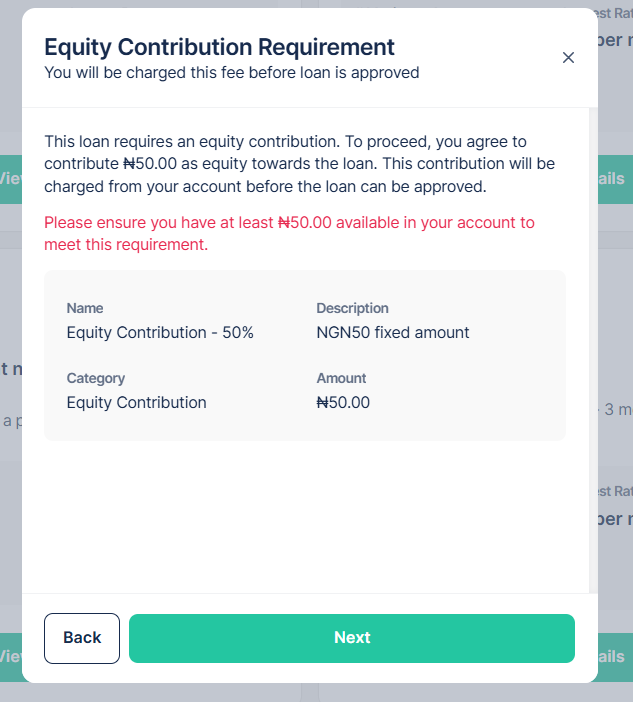
Equity Contribution
For loan products that require an upfront equity contribution, the system calculates and displays the exact contribution amount required from the applicant. It also provides clear payment instructions and channels through which the contribution can be made. This step must be completed before the loan can move forward for approval or disbursement.
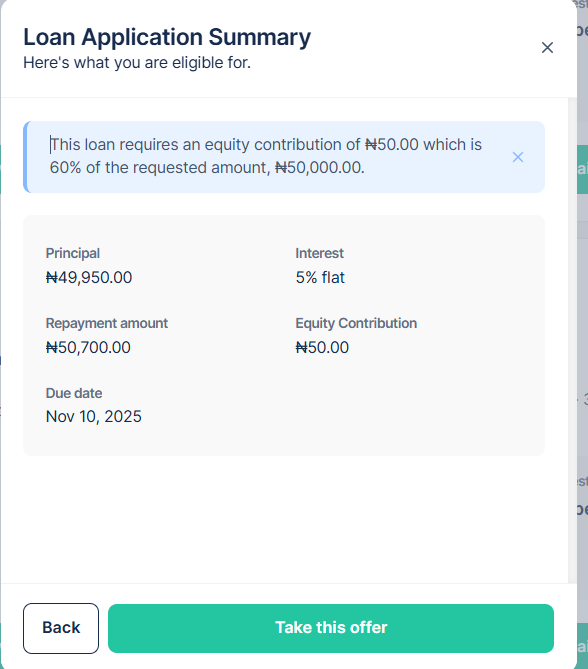
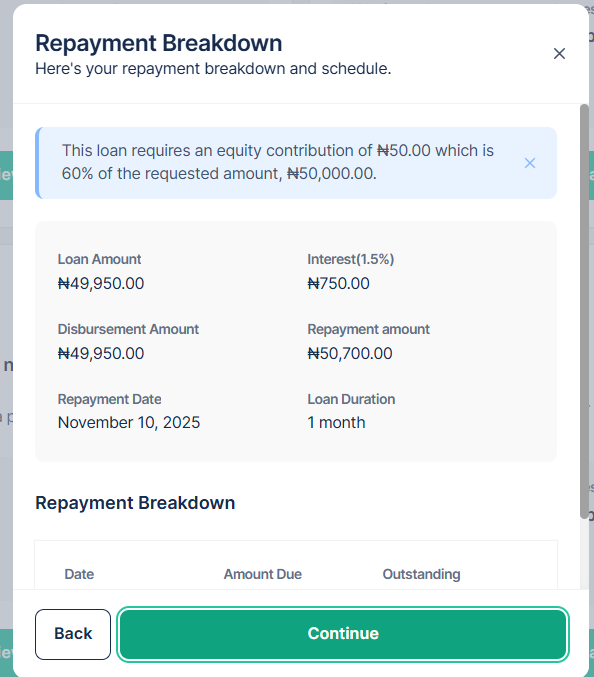
Loan Offer and Repayment Breakdown
After the system evaluates eligibility based on the information and documents provided, it presents the user with a Loan Offer that includes the repayment structure and total obligations. This section summarizes how much the user will be repaying, over what period, and under what conditions. It provides a transparent overview of the loan terms before the user proceeds to acceptance.
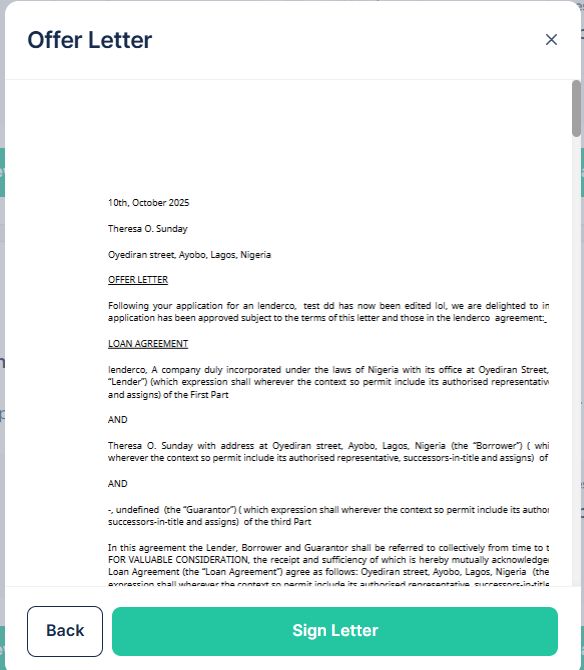
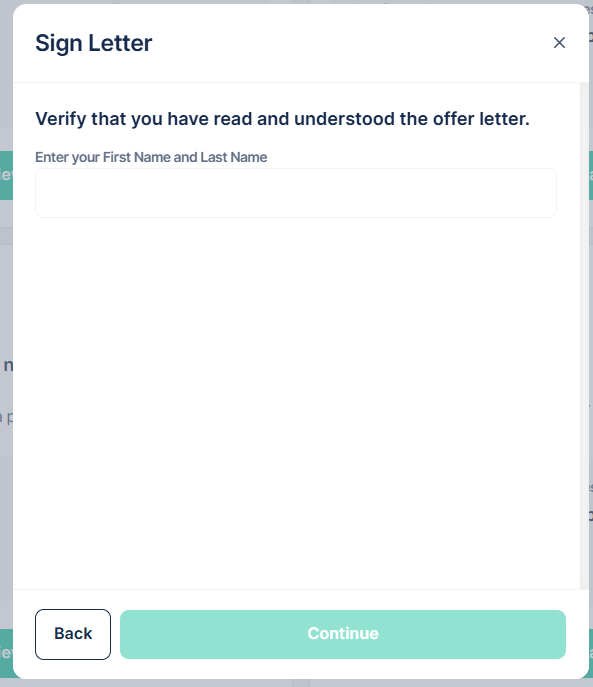
Offer Letter
Once the user accepts the offer terms, the system automatically generates a formal Loan Offer Letter. This letter outlines the agreed loan details, including principal amount, tenure, repayment plan, and applicable conditions. In future iterations, this step may include a digital signature feature, allowing users to electronically sign the offer letter directly within the application.
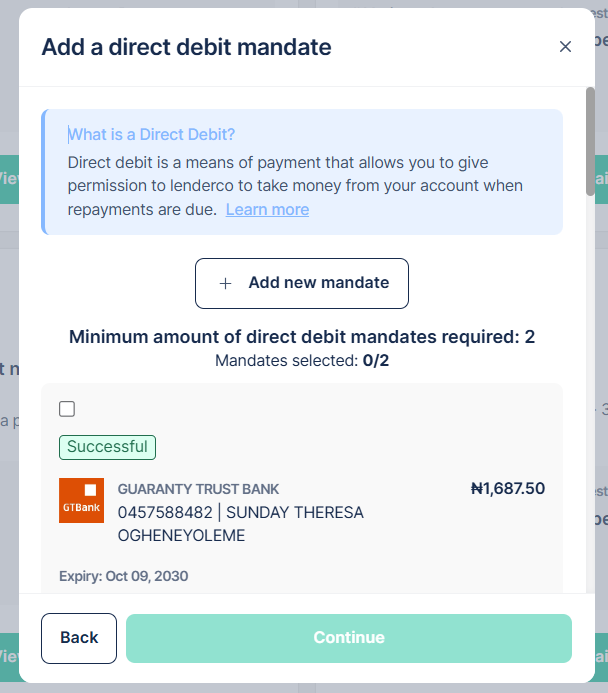
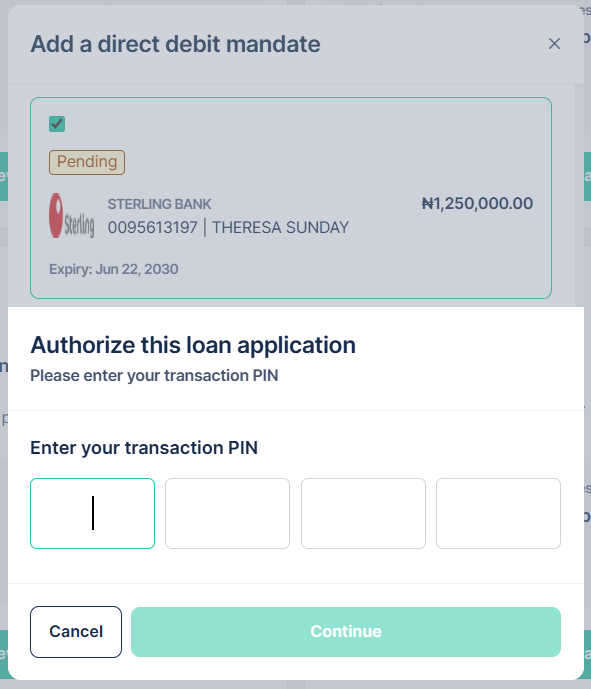
Payment Method Setup
After accepting the offer, the user is required to set up their preferred repayment method. The system provides multiple repayment options as configured, such as linking a debit card or setting up a direct debit mandate (single or multiple mandates). This ensures that loan repayments can be automatically deducted according to the agreed repayment schedule.
PIN Setup
Before finalizing the loan setup, the user is prompted to authorize by entering their secure transaction PIN. This PIN is also used to authorize key loan-related actions such as repayments, withdrawals, or updates to payment methods.
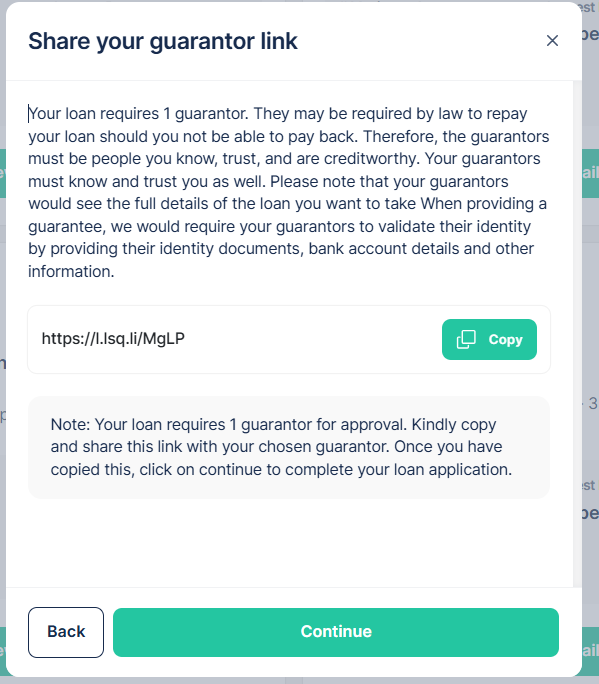
Guarantor Details (if applicable)
For loan products that require guarantors, the user is shown a page with a url they can share with their guarantors to complete the guarantor verification process.

 feature")

