Access your Back Office at your fingertips.
Download the app now on Google Play Store.
Scan the QR code
You can also scan QR code with your phone to download the app.
How to fund a user’s savings plan from the admin console
Introduction
Customers don’t always fund their savings plans through automated channels. Sometimes, they transfer money to your business account manually or pay in cash. To keep everything accurate and up to date, you can fund their savings plan directly from the admin console.
This feature gives you flexibility and helps ensure that savings balances reflect real-world transactions, even when they happen outside the app.
👥 Use Case
Let’s say a customer sends ₦50,000 to your corporate account to contribute to their savings plan. Rather than leaving this payment off the record, you can manually fund the plan from the admin console so it reflects in their savings history. It’s perfect for:
Offline or manual payments
Missed automated debits
Incentives or refunds being credited into a savings plan
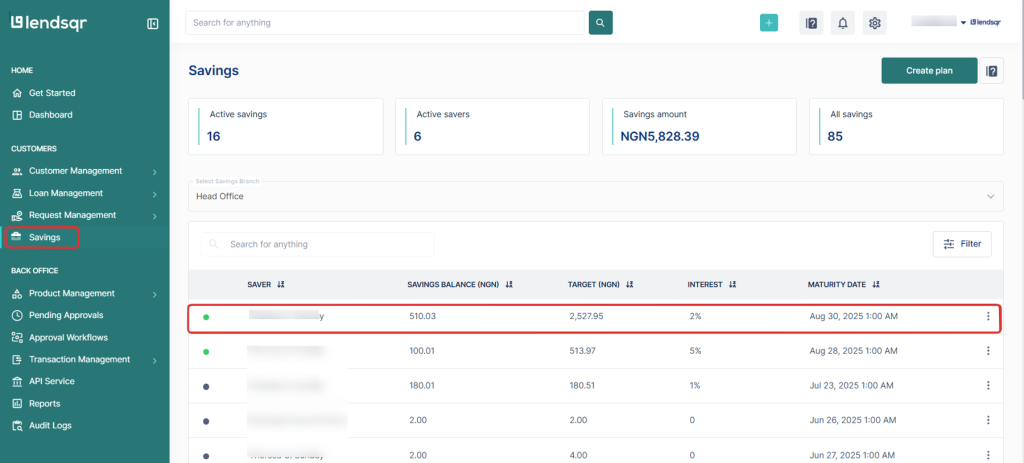
2. From the sidebar on the left, select Savings to view all savings-related activities.
3. Scroll down past the savings summary stats to the table. Locate the specific savings plan you want to fund and click on it.
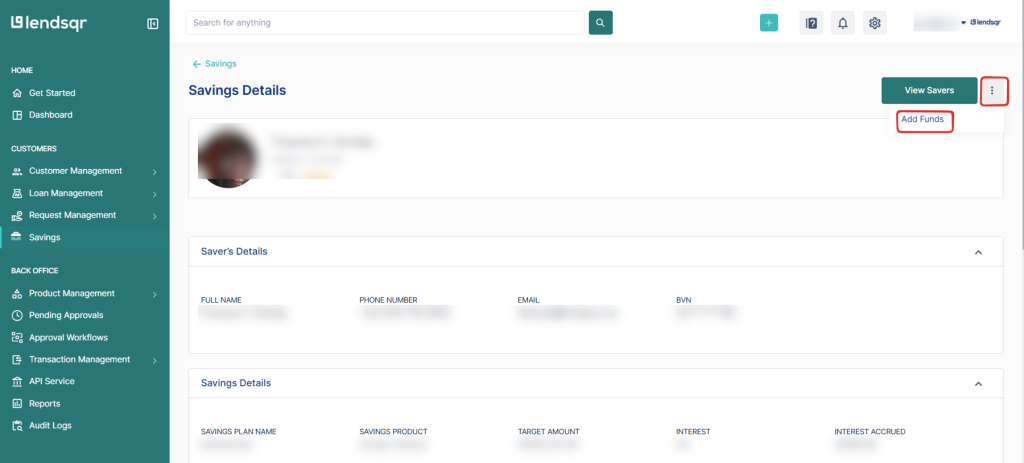
4. Once the plan page opens, look for the three-dot icon on the top right. Click it to reveal more actions.
5. From the dropdown menu, click on Add Funds to bring up the funding modal.
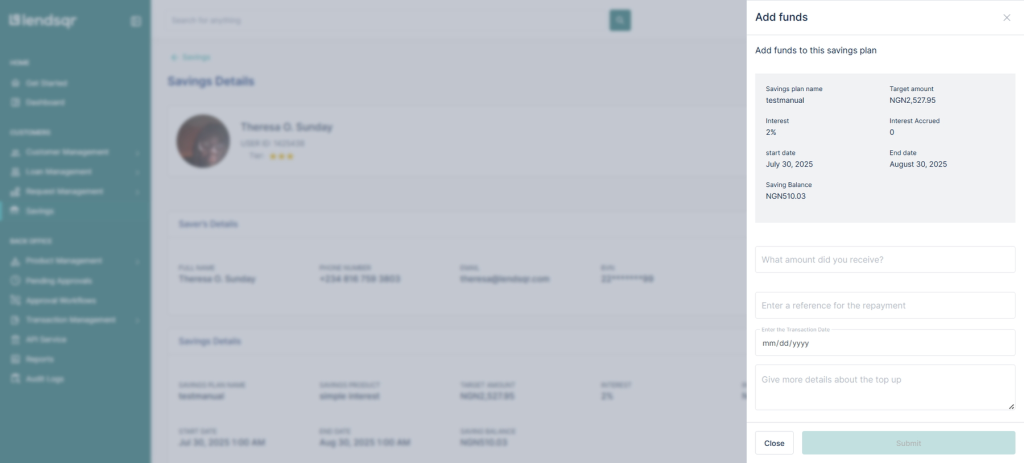
6. A form will appear asking for: Amount to be added, Reference (e.g., transaction ID or description), Date of the transaction, Additional notes (optional but useful for internal tracking)
7. Once you’ve reviewed the details, click Submit to fund the savings plan. Your disbursement account will be debited and the user’s savings plan will be funded immediately.

 feature")

