Access your Back Office at your fingertips.
Download the app now on Google Play Store.
Scan the QR code
You can also scan QR code with your phone to download the app.
How to configure grace period on your loan product
Introduction
Sometimes customers need a little breathing room. With the grace period feature, you can give borrowers extra time before repayments begin or before penalties kick in. This flexibility makes your lending more empathetic and better aligned with real-life income cycles.
Not every borrower earns or receives money on the same schedule. Some rely on monthly salaries, others on seasonal harvests, and businesses often depend on cash flow that isn’t daily or predictable. By adding a grace period to your loan product, you make it easier for borrowers to stay on track—while also reducing defaults caused by short-term payment delays.
Use Case Example
Imagine you’re lending to a farmer who won’t see any income until harvest time. Without a grace period, repayment starts immediately, which doesn’t align with their reality. By setting a 30-day grace period, you ensure the loan product matches the farmer’s cash cycle—they can borrow at planting season and start repaying after harvest.
Or consider a salaried worker who gets paid at the end of the month. A short grace period of 3–5 days ensures they can comfortably repay after payday, without penalties for being just a little late.
This flexibility doesn’t just help borrowers—it strengthens trust, reduces complaints, and makes your loan product more competitive in the market.
How Grace Period Works
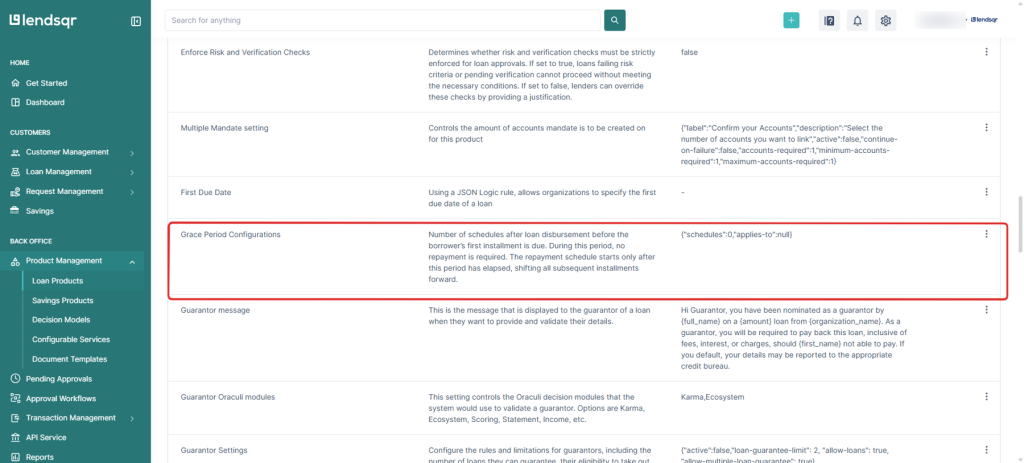
A grace period is defined as the number of schedules after loan disbursement before the first installment is due.
During this period, the borrower does not make any repayments.
The repayment schedule is shifted forward, and all subsequent installments are adjusted accordingly.
For example:
If the loan is disbursed on 1st January, with a monthly repayment cycle and a 1-schedule grace period:
No repayment is required in January.
The first installment falls due in February.
All other installments are pushed forward by one month.
Configuration Parameters
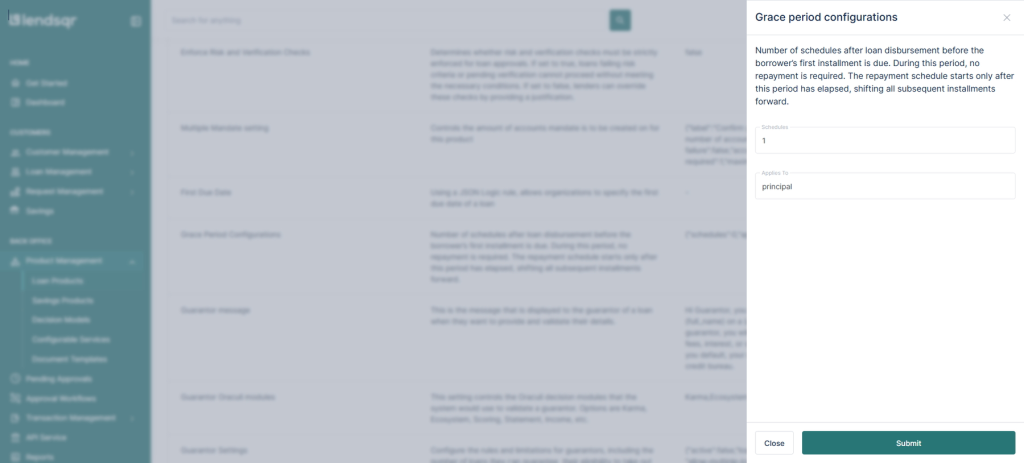
When setting up a grace period, you’ll configure two key fields:
schedules
Number of repayment cycles to skip after disbursement.
Example:
0 = No grace period (repayment starts immediately).
1 = Skip one repayment cycle, repayment begins in the next.
2 = Skip two cycles, repayment begins later, and so on.
applies-to
Determines what the grace period covers. Options:
principal – Grace applies to principal only (interest may still accrue).
interest – Grace applies to interest only (borrower pays principal first).
principal + interest – Grace applies to both; no repayment of any kind is required until the grace period ends.
Step-by-step guide
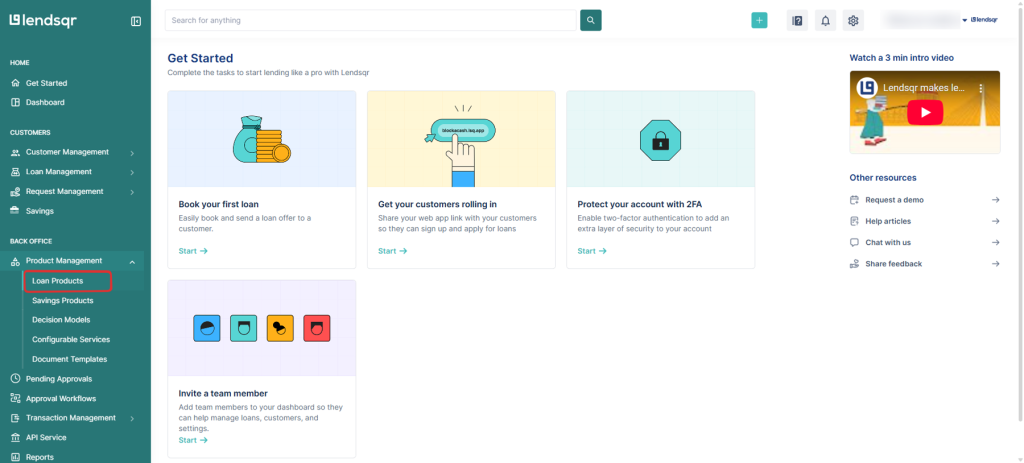
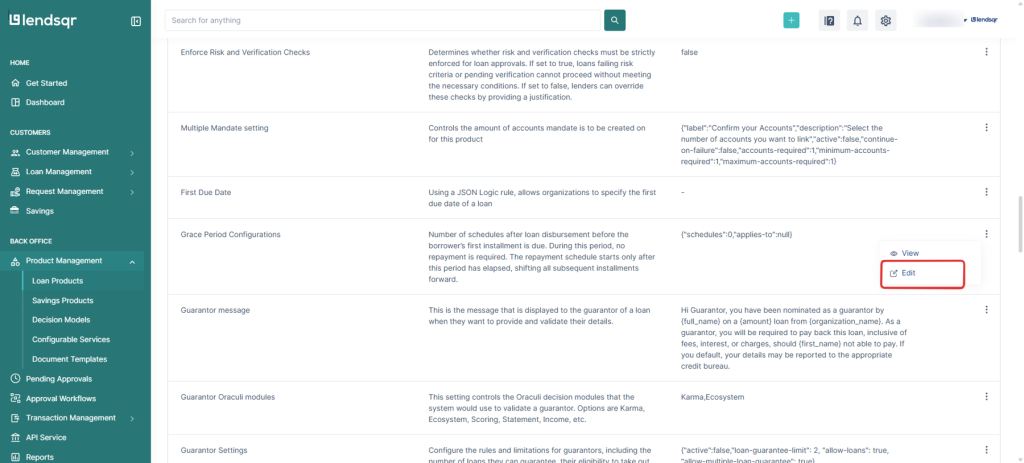
1. Login to the Admin Console 2. Click on “Loan Products” under “Product Management“


 feature")
